


One of my favorite things as a mom has been documenting my daughter’s life. Not only in words on my blog, but in photos, too. I love sharing my photos on Instagram.
I’ve been surprised by how much I enjoy photography since I’m not trained in it, and I’ve gotten quite a few kind comments on my photos (I even had a professional photographer email me to ask what my secret was, because the iPhone is a different beast!). So, here I am, revealing all my iPhoneography tips!
Taking Photos
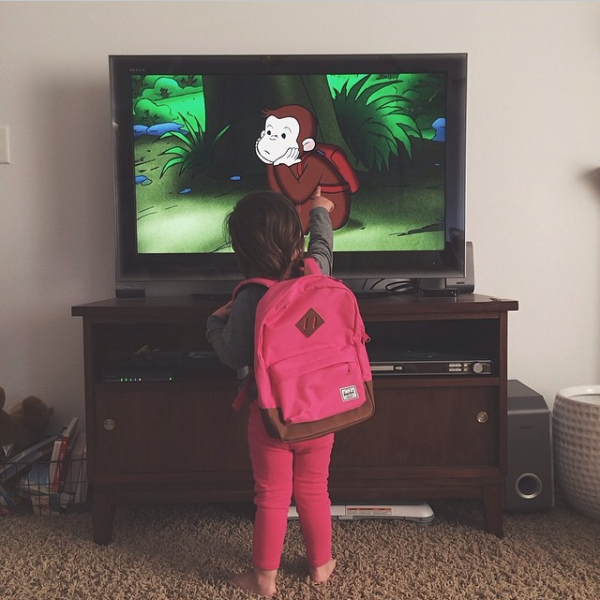
1. I take LOTS of photos. The best camera is the one you have with you and like to use. For me, that’s my iPhone. I keep it in my right back pocket most of the time. When I see a cute moment aspiring, I whip it out and snap away. I’ve gotten quicker and quicker at doing this over time. Sometimes I take five photos and sometimes I take 20-30 photos. Kids move a lot and change expressions quickly, so I keep snapping in case I catch a half-blink instead of a big smile. Over time you will learn which types of photos you always delete and will get better at knowing when to snap and when not to, but to start I recommend taking lots of photos. Your camera roll will look like this:
2. Use the original camera app (or Camera+ app) and not the Instagram camera. The native camera app is simply more robust than taking a photo within the Instagram app. Be sure to tap on the screen on what you want to focus on until you get the correct exposure (lighting), and then snap the photo. Move closer to the subject instead of using the zoom. If your photos are mainly shared on Instagram, I also like to shoot in the Square camera mode because it saves me time when editing.
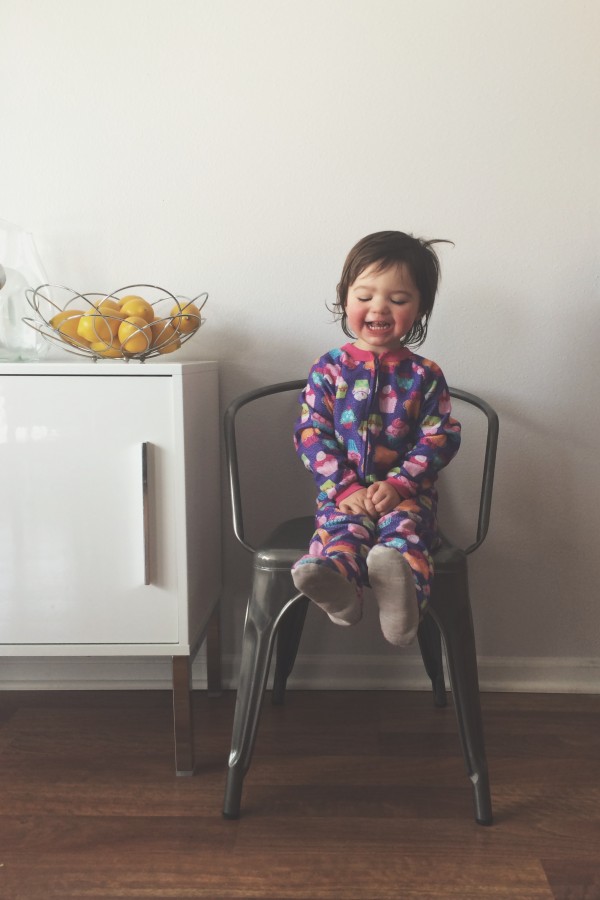
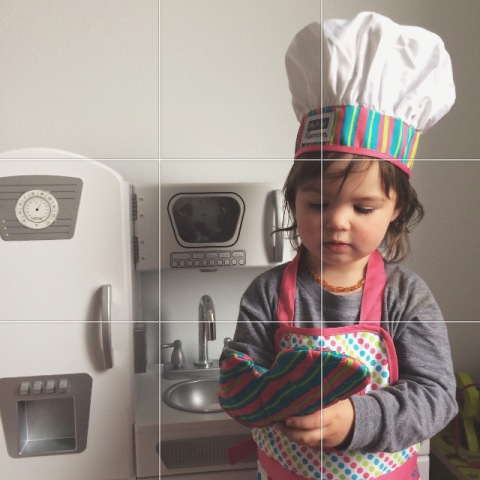
3. Use the rule of thirds. A general rule for photography is to divide the frame into nine equal sections and place the subject along the lines or intersection of those lines. You can turn on the grid in your camera (Settings > Photos & Camera > Grid On) if it’s helpful. I just eyeball it. The Instagram app will also place a grid over your photo before you post it, in case you want to make adjustments.
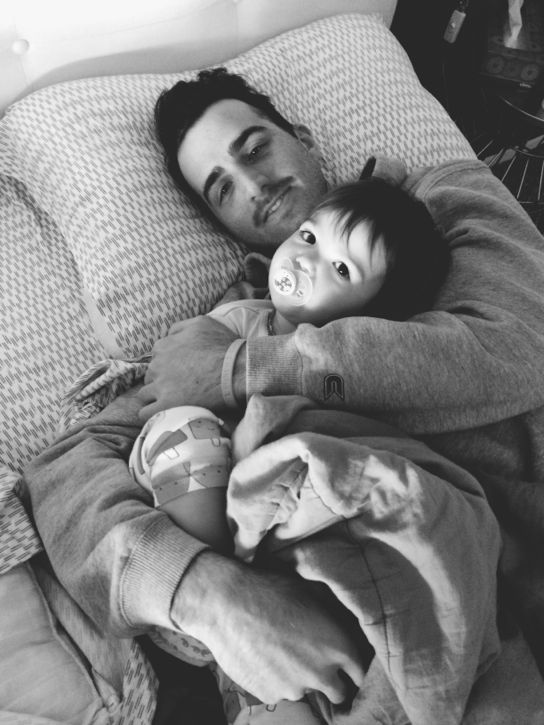
4. Download the Camera Timer app. When I’m alone with Rooney but still want photos taken of both of us, I will use an app called Camera Timer.
5. Use natural light. Go outside if you can (I realize that in Iowa this isn’t possible for several months in the winter).
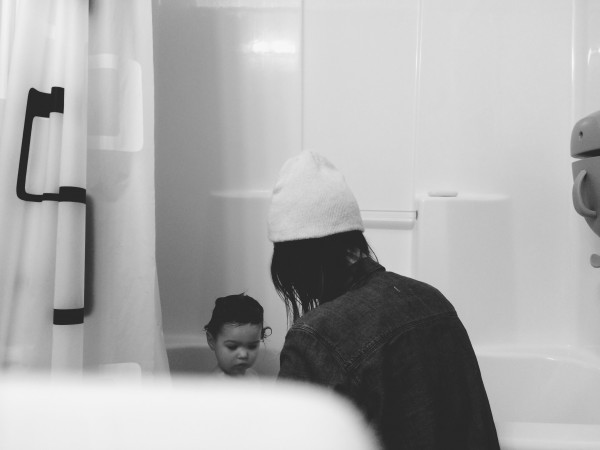
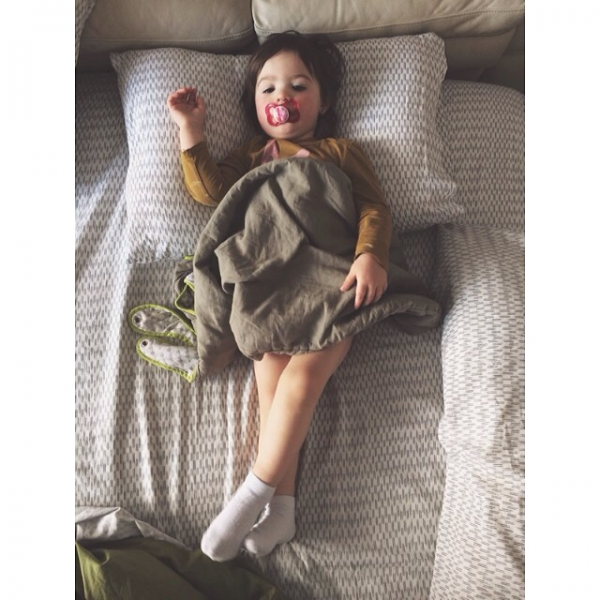
Do NOT use the flash on your iPhone. If you’re inside, turn OFF the lights in your house (yes, I’m serious, unless you have daylight bulbs) and open all the curtains/blinds in your house. This will help the light bounce in from many directions. Your photos will look better if your child is facing the window or if the light source is at their side (in my experience, they do not turn out as well if the light is behind them, unless you are going for a silhouette shot). I will often place myself between my daughter and the window so that the light is shining in on her.
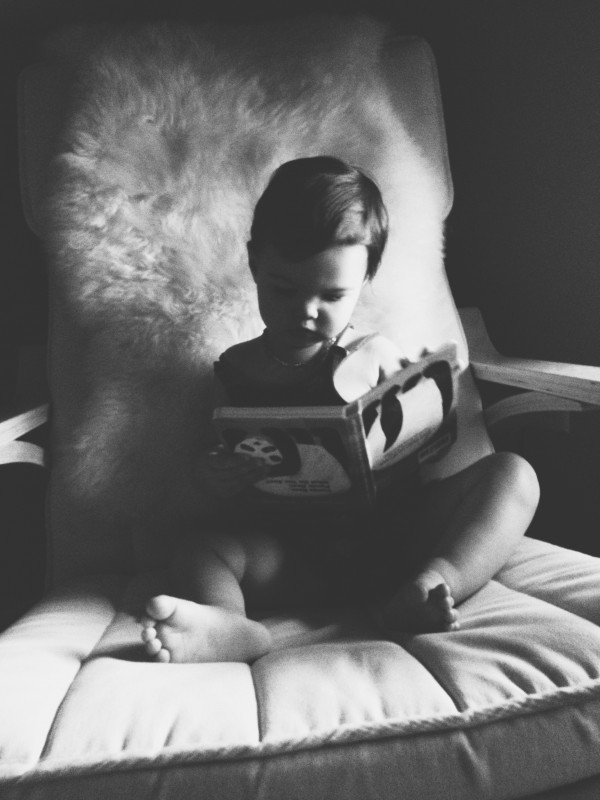
I recently painted all the walls in my house white, and one of the reasons was so that my photos would be less yellow and more bright white (our walls were previously taupe). I’ve since trained my daughter to head over to “the wall” to have her picture taken, and she usually loves to do it (even though she will only stand there for five seconds, so I have to be quick!).

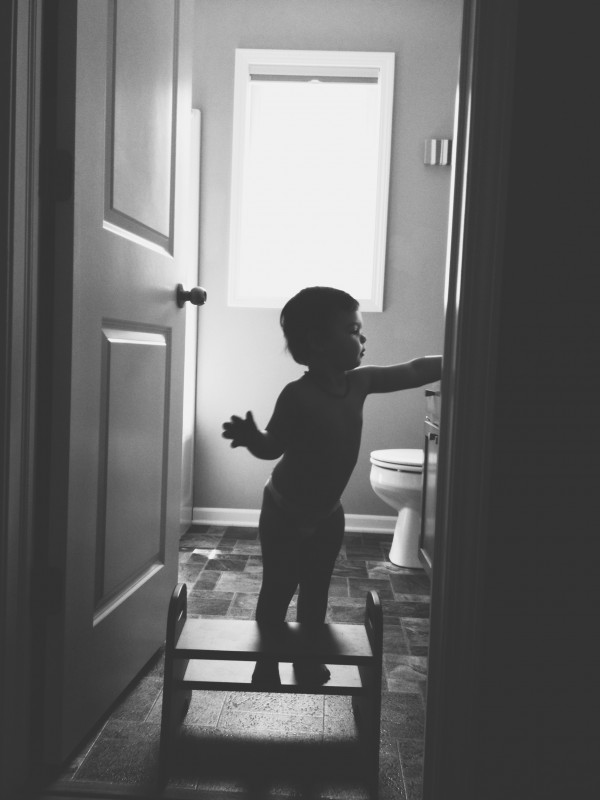
6. Get down on their level, or up above. I think the angle or perspective can make or break a photo. You can’t always control your subject and ask them to move (especially if it’s kids because their attention span is so short). Many times you have to move yourself to get the best position.


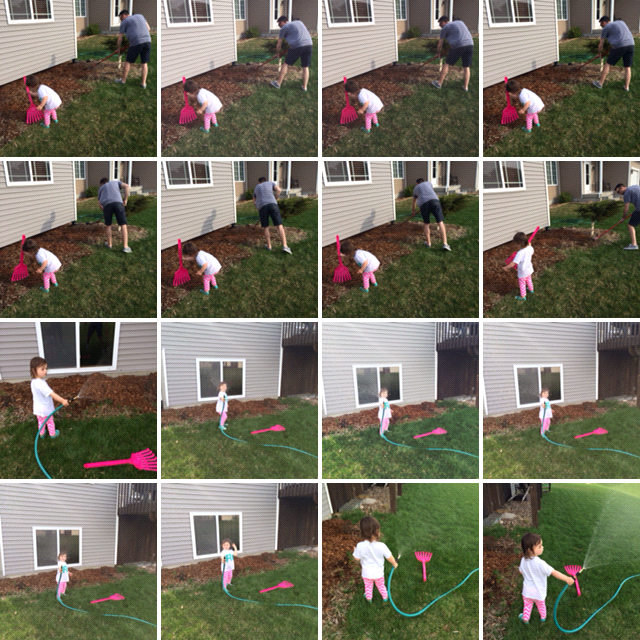
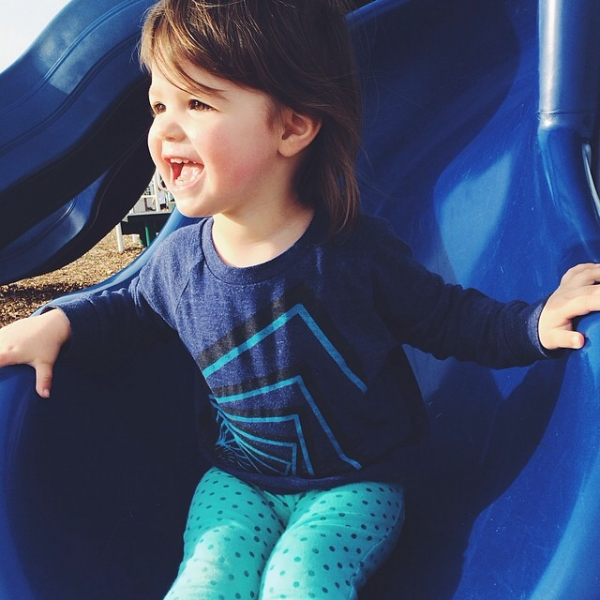
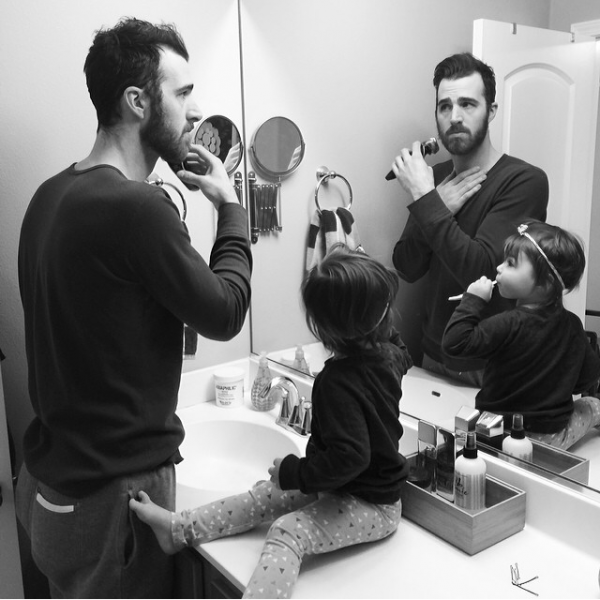
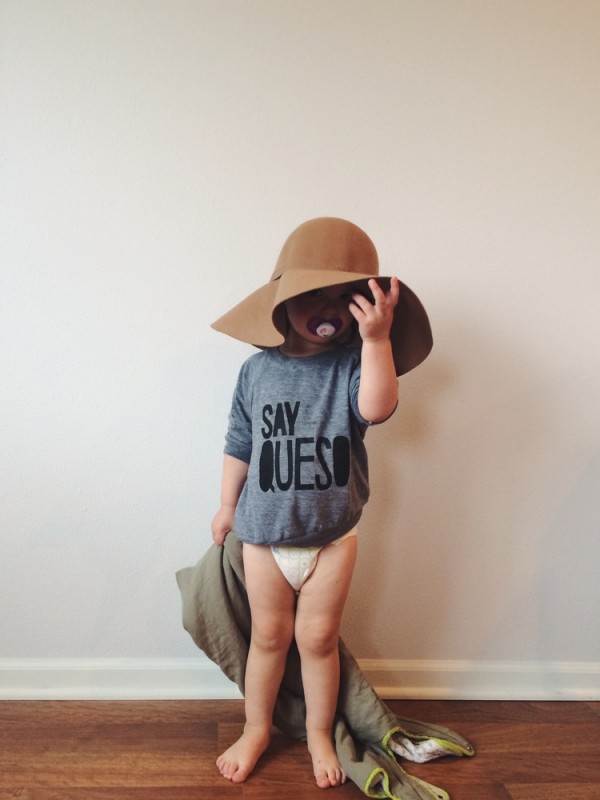
7. Don’t photograph just the good. I like taking “real” photos of everyday happenings. Things a professional photographer would never capture because it’s spontaneous or part of a seemingly mundane routine. There are moments and messes I might not think are beautiful now, but I want to capture them because I might miss them later (or be better about laughing about it later).

Editing Photos
Now that you have a bunch of good photos, let’s make them great with editing. I think it makes sense to choose a few different filter styles that you like and stick with those when editing. Not only does it save time, but your photos will have a cohesive look and feel as well when you view them as a group.
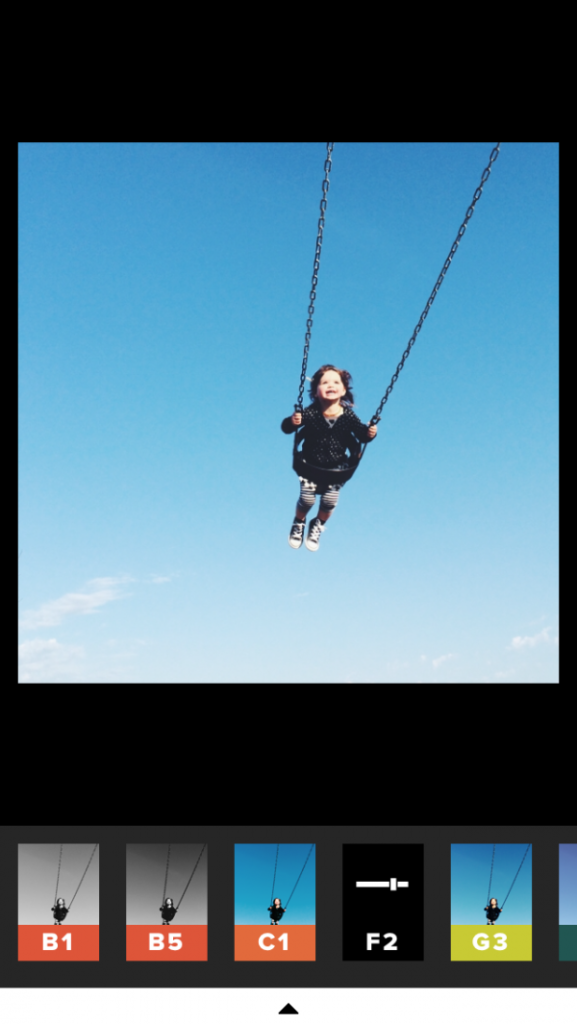
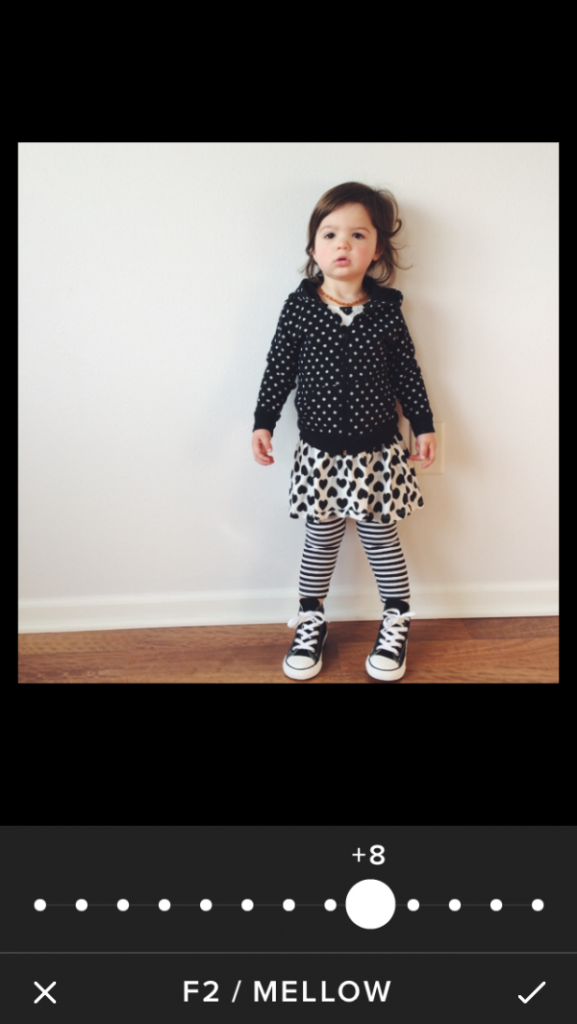
Editing apps: My favorite app to edit photos on my iPhone is VSCO cam (free). All the photos in this post were edited with VSCO. Within VSCO, my favorite filters are T1 (moody), F2 (light and bright) and X1 (high contrast black and white).
Another great thing about VSCO is that you can use their filters at 100% or tone them down as desired.
I don’t often use Instagram filters, but if I do, I will use Sierra, Walden, or Willow.
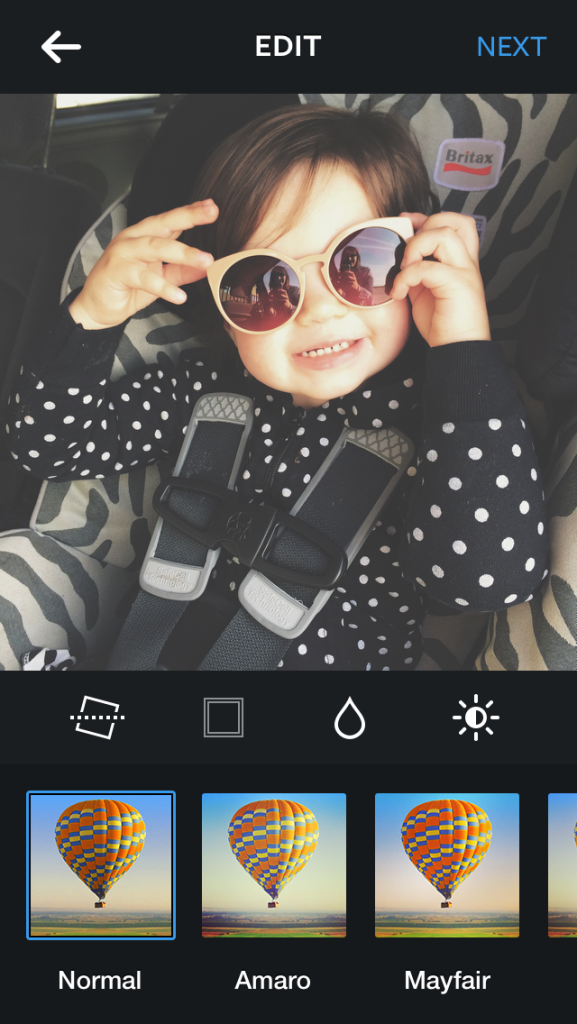
I also will use the Whitagram app (free) to place a white border on two sides of the photo if needed to make it a square for Instagram. That way, none of the original photo gets cut off. (Shooting in “Square” mode can help with this if you prefer to not have white borders.
When all else fails, make it black and white. I swear, a black and white filter saves so many photos. Sometimes there are photos I want to share that really aren’t that great of photos or the colors are taking away from the simplicity of the moment. In that case, I use a black and white filter!
Posting Photos
This is my favorite part! I only post one photo from what I take. Sometimes it is hard to choose one, but most of the time it is not. I know as a mom you can distinguish their expressions changing from photo to photo, but most people will think you posted the same photo multiple times. Choose one to focus on and it will get more traction. If you’re having trouble deciding, ask someone else.
One thing to think about when posting photos is using hashtags to categorize your photos. I have a few unique hashtags I use, such as #wednesdayswithrooney and #rooneyincarts. I use these because I plan to make a photo book someday of all photos in those collections, and this will make it easier. General rule on hashtags: If you want to increase followers, use a hashtag that is common. If you just want to organize your photos as sets, use a unique hashtag.
Let me know if you have any questions! I love this stuff!
P.S. I’ve had to learn that sometimes it’s best to just be in the moment and enjoy a private moment with your little one and not whip out your camera to take a photo. Sometimes I will want to take a photo and Rooney will turn away and say “no!” so I try to respect her wishes, too.
***All photos taken with my iPhone.


I’m so glad you revealed all your “phone photo” secrets! Your pictures are always standouts on Instagram, and I, too, have been curious to know your tricks! Based on your advice, one mistake I’ve been making is using the Instagram camera (because of the crop-and-lose-part-of-the-original-photo issue). I didn’t realize there is a square shooting mode (hopefully Android has that feature, too?), so I’ll have to look into that. And a camera timer app! What a great idea!
Thanks for all the work you put into this post. What a wonderful resource for the rest of us photographer-wannabe mommies! 🙂
You’re welcome! Now if I could just figure out how to make my daughter smile in every photo…I would be a genius 😉
Thanks for this post!! I am not naturally a very good photographer, so I look forward to using some of these tips once Baby #1 gets here this summer. 🙂
Congrats on your pregnancy, Mara! I can’t wait to photograph my next baby since my 2-year-old sometimes makes it very difficult! 🙂
Thanks for these tips, Kelsey! I hope to apply them to pictures I take in the future.